


This is part two of a series on facing your fears regarding servers - part 1 is available here.
How many of you have a lab at work? Probably a decent amount of you, but not an overwhelming majority. I find it that most companies don’t have the available resources to give the desktop people their own labs, or if you’re one of the lucky ones you’re using it to build test VMs of your desktop image.
Now, who among you have a lab at home?

That’s what I thought. Okay, all joking aside I know that many of us don’t see the value of a home lab, but I’m going to try and change your mind about that this week.
Why should you have a lab? It’s simple - you have to put your hands on it to learn how to work it.

You can learn all you want from books or computer based training, but until you actually perform the steps yourself you likely won’t grasp it. Now most people learn in a trial by fire, because even the best labs don’t prepare you for the real world issues you will run into. ConfigMgr, making changes, testing theories, and learning the basics probably aren’t the best thing to do in your production environment. I’m also guessing that if you’re not a server person, you don’t have access to many of those resources either.
Some of you think that a lab has to be expensive and I guess it depends on your definition of expensive. You can get a decent virtualization server on the refurbished market for under $700, or you could probably build an army of old desktops for even less than that. Although, the desktop option might cost you a fortune in electricity, at least you save on heat in the winter right? All I’m trying to say here, is that the expense is worth it, and here’s why.
It WILL make you better at troubleshooting issues. It WILL give you the ability to make a case for why it’s not a desktop issue (I know it’s very common to blame the desktop for issues). It WILL expose you to new technologies and give you an advantage when new systems are introduced. It WILL make you a more valuable employee.
With that said let’s get started. Today we’re going to cover getting your lab built.
BUILDING YOUR LAB
Your lab can be as simple as a hypervisor like Oracle’s VirtualBox running on an old PC (not recommended), maybe it’s a collection of computers and a switch that you had lying around for the past few years, or maybe if you’re willing to invest a few hundred dollars in technology it’s a newer server with a hypervisor like XenServer (http://www.xenserver.org/).

Wait, what in grandma’s shoe box is a hypervisor?
Simply put, a hypervisor is a piece of software that enables a single computer to host multiple virtual machines. There are two types of hypervisors: Type 1 and Type 2. Type 1 is native or “bear metal” meaning it doesn’t run inside of an OS but rather “acts” as it’s own OS. Generally these are installed on a bare metal machine (just like installing Windows from disk)*. An example of this would be XenServer, ESXi, or Hyper-V. Type 2 is hosted meaning it runs as an application underneath a supporting operating system. An example of this would be Oracle’s VirtualBox installed in Windows.
*NOTE: Microsoft Hyper-V is a Type 1 hypervisor, but it is installed via roles from an existing Windows server install. ConfigMgr upon installing the role Microsoft does the ole switch-a-roo and makes the host OS a sort of “guest” OS.
Now that grandma is up to speed on hypervisors let’s talk about what we’re going to need to build one. If you are going to use physical servers, or have your own hypervisor other than XenServer, feel free to skip the following section. Actually, feel free to skip the rest of this post - you’ve got your lab setup. You just need to plug in the cables or create your VMs which I’m assuming you already know how to do. Next post we’ll cover installing the operating system and creating your first domain.
INSTALLING XENSERVER
Since XenServer is where I do most of my work these days in my lab, for no other reason than I tried Hyper-V and ESXi and I wanted to try something new (also, open source is nice) - I’m going to walk you through setting up a XenServer host. I won’t be going into detail regarding high availability or any of the other fancy settings - but we will set it up (especially if you have multiple drives) to allow you to store ISOs on the server as well.
First things first you’re gonna need the latest installation media for XenServer available here: http://xenserver.org/overview-xenserver-open-source-virtualization/download.html. Download the installation ISO and the management console installer. If you were lucky enough to purchase an HP or Dell server with IP based management you can upload the iso into iDrac (Dell) or ILO (HP) - otherwise burn a copy of the ISO to cd or probably more appropriately create a bootable flash drive using Rufus (https://rufus.akeo.ie/).
Now boot to the iso - you should be presented with the following screen:

You may wait a few moments or press the enter key and then XenServer will boot. You will then reach the following screen:
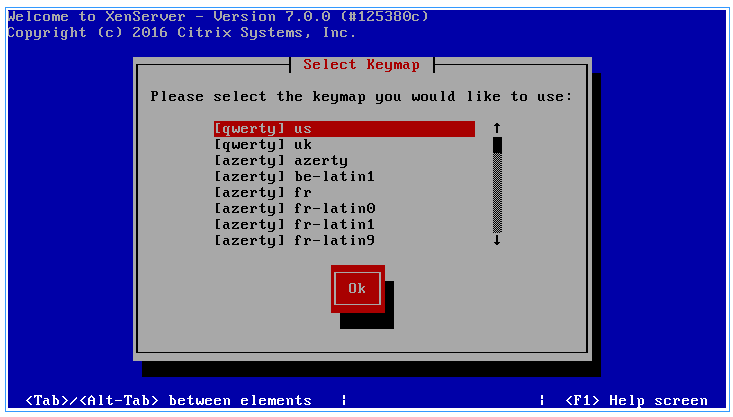
Choose your keyboard layout and then select Ok. You will then be prompted to continue installing - select Ok:
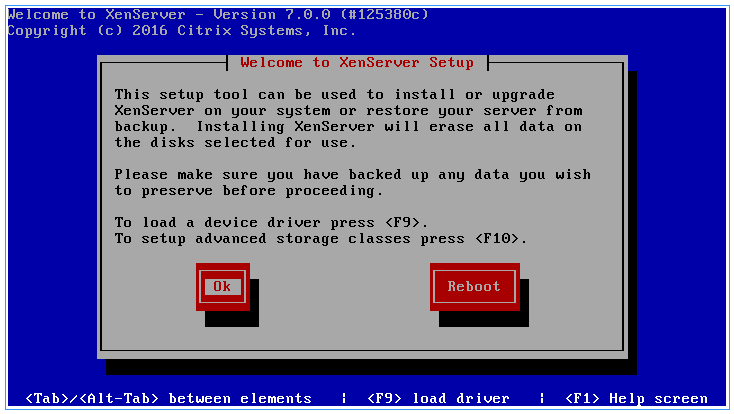
Make sure to read your EULA and then accept it to move on:
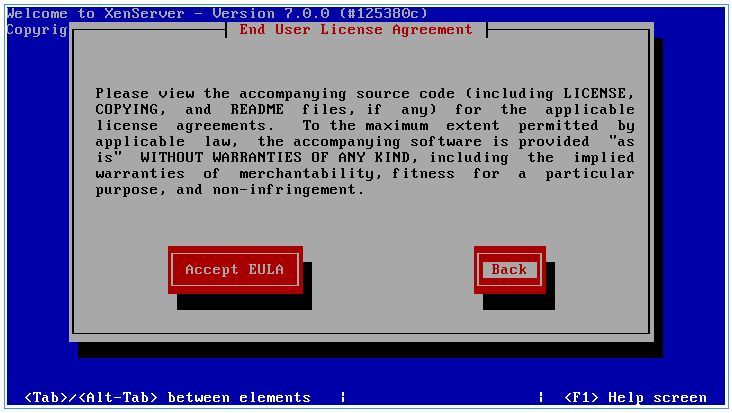
IMPORTANT: You may or may not be given this warning. I received it because I was installing XenServer inside XenServer - but if you receive it, it’s more than likely that you have not enabled virtualization technology in your BIOS/UEFI. If you have not or are not sure, stop now and double check - then start over again.
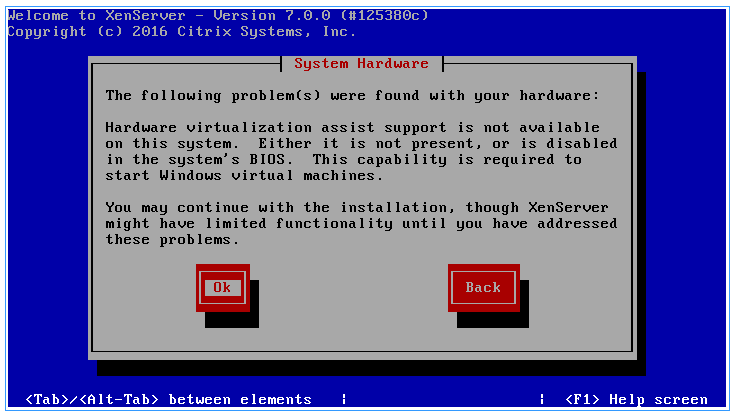
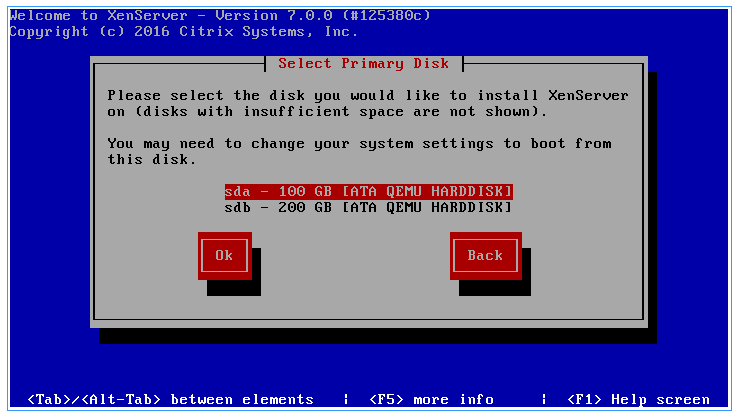
Select the disk you want to install XenServer on - I would pick your smallest and slowest disk. You really don’t need much space and XenServer is really only going to create partitions for what it “needs” not based on how big the disk is. You can extend this later if you really don’t want to lose out on space and potentially use it as an ISO store.
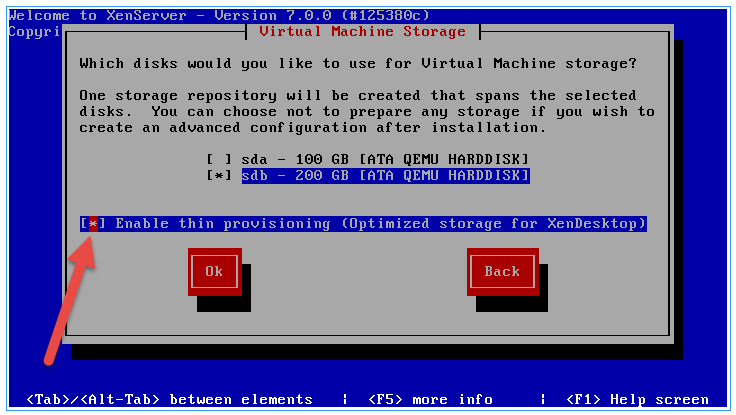
Now you’ll select the disk(s) you want to store VMs on - I would recommend NOT storing them on the XenServer OS drive unless absolutely necessary. MOST IMPORTANTLY check the box for “Enable thin provisioning (Optimized storage for XenDesktop)” - while this may not be recommended for servers in a production environment, this will allow you to “over provision” your storage so that you don’t have to make tiny VMs (you could make as many VMs as you wanted on the machine provided that the actual amount of storage USED does not exceed the AVAILABLE storage).
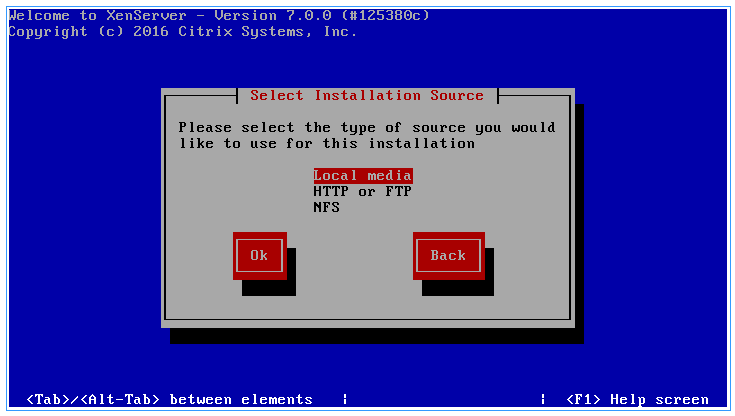
Next - just select “Local Media” and press Ok.
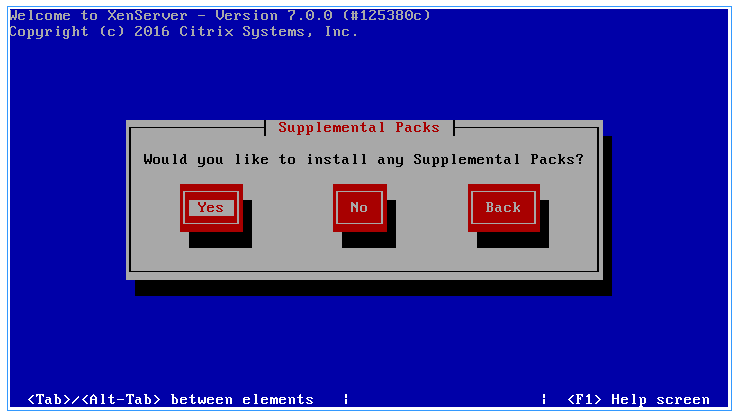
And then select “No” for supplemental packs - unless you know that you have some (in which case you can probably skip this blog post).
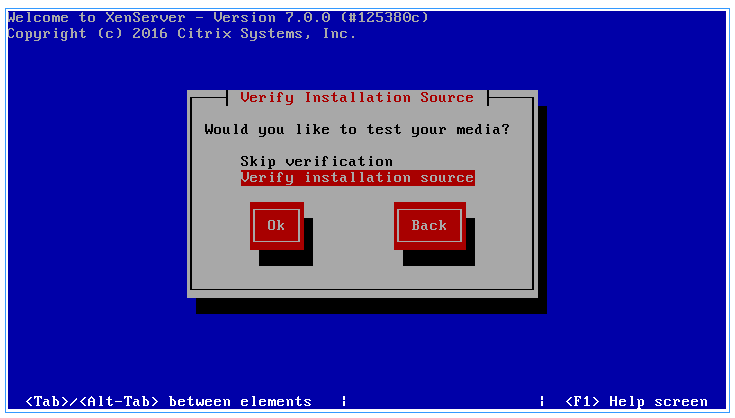
I personally skip verification because I like to live on the edge - and since it’s a lab, I’d rather move fast than potentially discover issues.
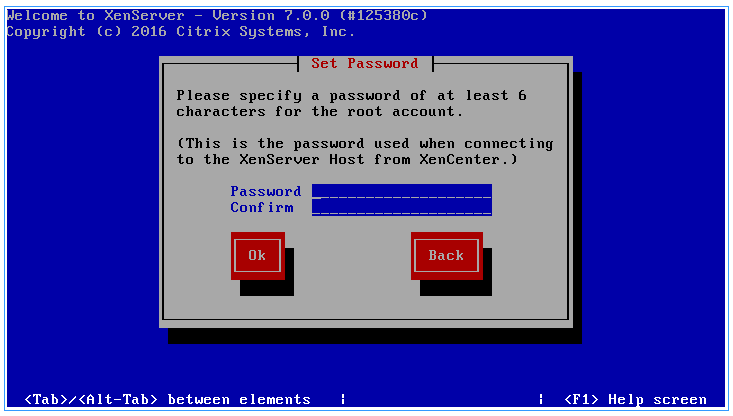
Next choose a root password - make it secure.
Now you’ll set up networking for your box - I would HIGHLY recommend that you set a static address (since the console application will heavily rely on IP address) but do what you must in your environment. If you’re lucky enough to have static IPs like me - you might consider assigning one to this instance so that you can access your VMs from anywhere with zero configuration, but be prepared to have an onslaught of people attempting to “hack” your dev box.
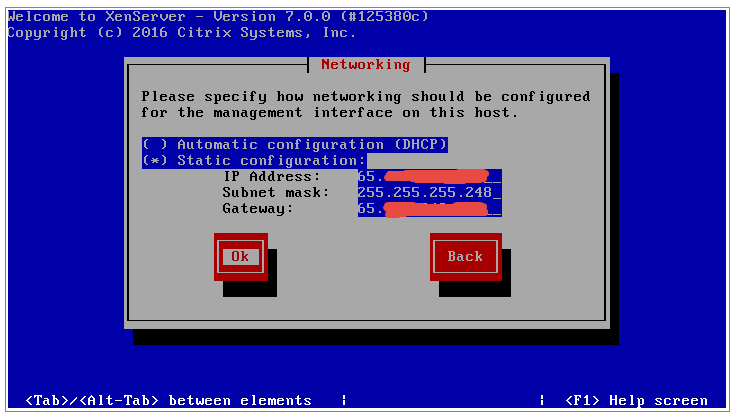
For DNS servers, I typically just use the Google name servers (8.8.8.8 and 8.8.4.4) - you’re welcome to use the ones provided to you by your ISP or if you’re inside a home network you may end up just using your router IP. Give your server a good hostname here too… something fun and not totally boring - because it will show up in your console. Maybe you name it after a space ship and all the VMs are crew members? If you’re like me you’ll probably just be boring tho.

Next select your region for Time Zone:
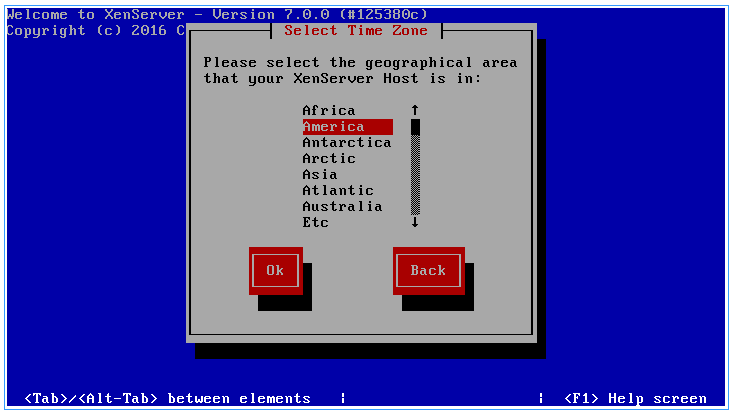
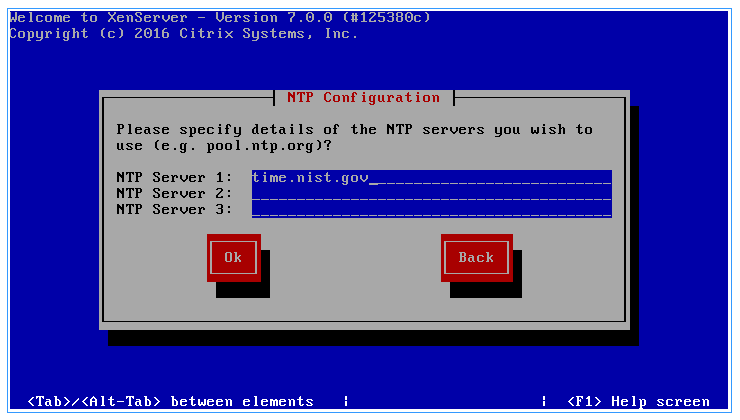
If your server has access to the outside world (I would assume it does) select “Using NTP”

You can use any NTP serer, but I prefer time.nist.gov
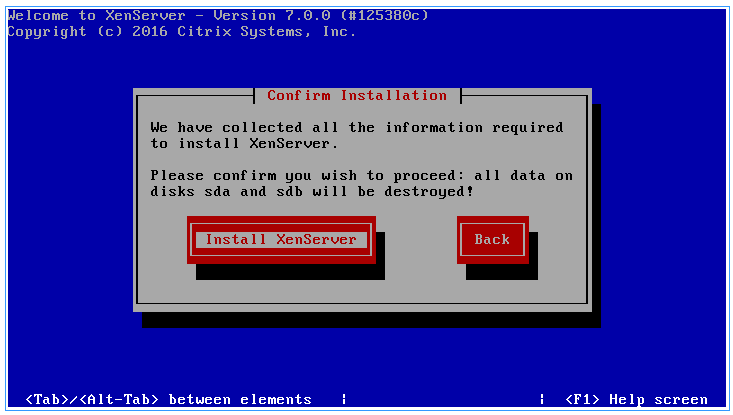
Finally, select “Install XenServer” and you’ll be on your merry way!
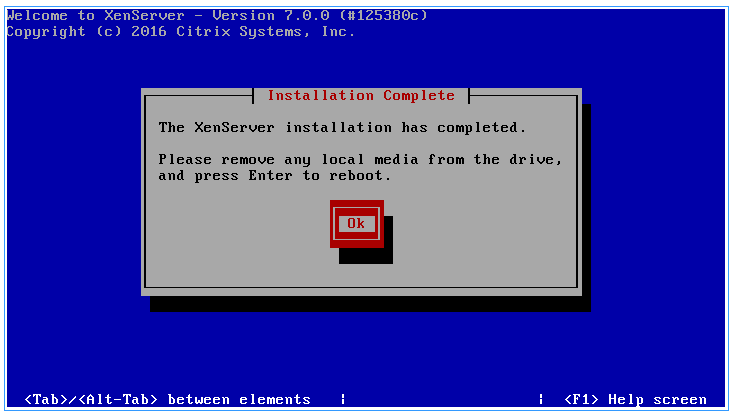
You’ll know it’s complete when you reach this screen - remove your media and select Ok.
And finally you’ll reach this screen:
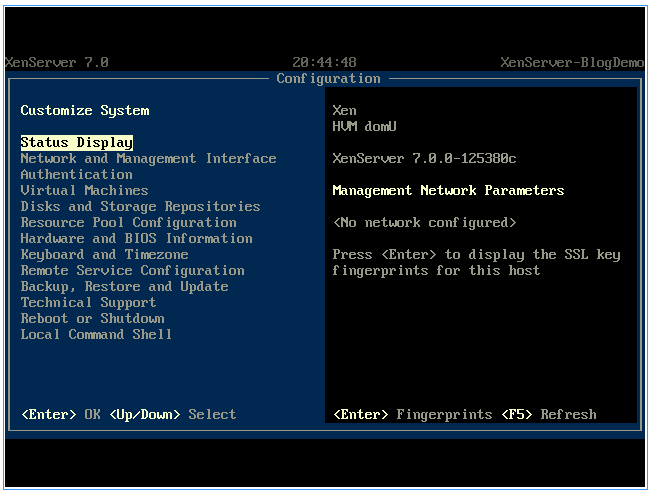
And that’s it! You now have your very own Hypervisor to host VMs.
CONCLUSION
It’s pretty darn simple. Next week we’ll look at installing the management tools and creating our first VM as well as doing some cleanup configuration! As always, thanks for reading and happy admining!
Share this post
Twitter
Facebook
Reddit
LinkedIn
Email