


After taking over a year long hiatus on this series (can I even call it a series if there was only one post?), I got a gentle reminder that I should finish what I started (thanks for the reminder @markraldridge). So when we last talked about this we had a brief top-level overview of how AGPM functions and a promise that the next post would cover installation of AGPM and creating/deploying your first controlled policy. First off - I attempted to make all of that into one post but it got excessively long, so this post will focus on installation and configuration of the AGPM components and the next post will talk about creating/deploying your first controlled policy (I promise it won’t be a year between this post and the next one). With that said I guess it’s time for me to take some advice from Shia…

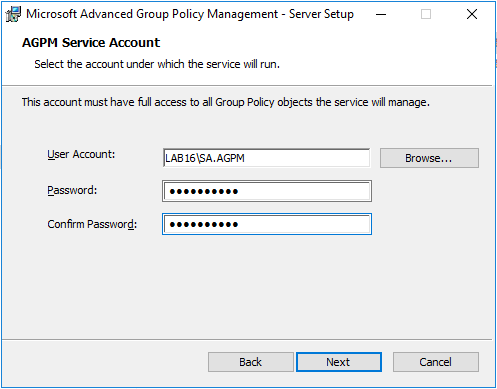
Now on the AGPM Service Account page, enter the account name and credentials for your AGPM Service Account
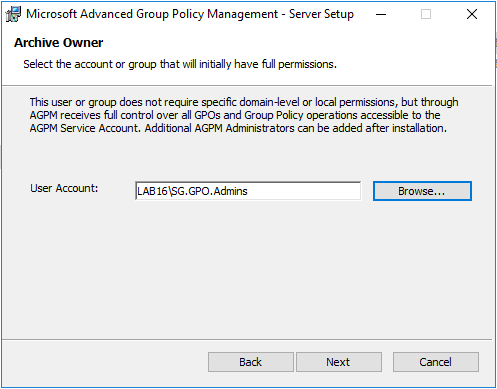
Now on the “Archive Owner” page, enter the SG.GPO.Admins group that we created earlier. If you decided not to create a group - you just need to select a user or group who will initially be the AGPM Administrator(s).
On the “Port Configuration” page, you can select a different port, but for our purposes we’ll keep the default TCP port of 4600. On the “Languages” page, you only need select the languages that you will be managing GPOs in - although leaving them all selected doesn’t really make a big difference either. Finally click “Install”. Once the installation is complete, we’ll install the AGPM Client so that we can manage policies.
Run the “agpm_403_client_amd64.exe” to install the AGPM client - leave all the defaults until you reach the page asking for your AGPM server and port. On that screen enter the FQDN of the AGPM Server and the port (if different from 4600) - you’ll also need to allow MMC through the firewall. On the languages page, select the languages you wish to install and then press “Next”. Finally press “Install” to install the client.
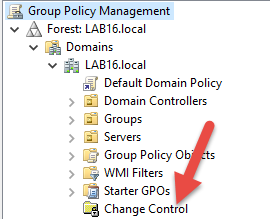
Go ahead and click it, and it should establish a connection to the AGPM Server. Make sure you do it with an account belonging to the group we set earlier - otherwise you’ll get this fun error message:
![]](/files/2016/12/21/img_585af6a29173b.png)
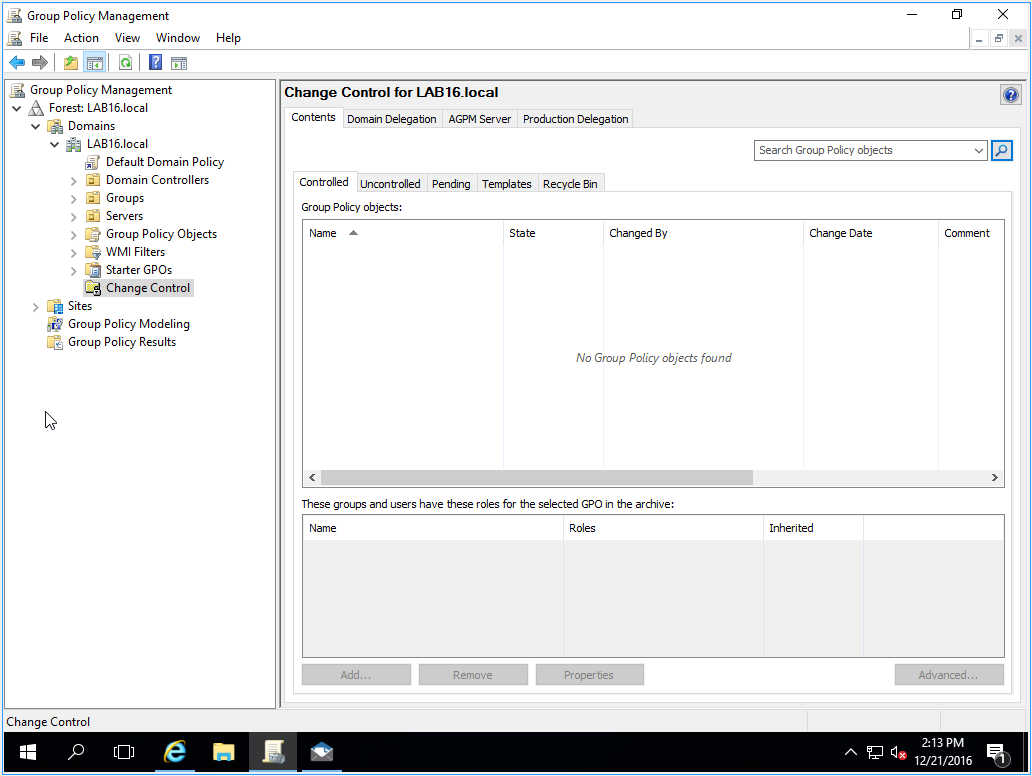
If you did everything correctly, you should end up on a screen similar to this:
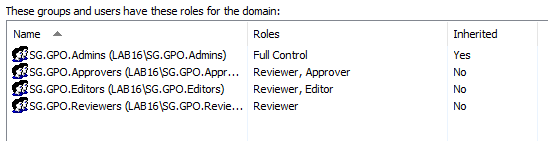
Now click on the “Domain Delegation” tab and we’ll get our permissions setup based on the groups we created earlier. You’ll notice that the group we added during installation already has the “Full Control” role added. Just work down your group or user list, press “Add…” and then select the correct role - mine ended up looking a little like this:
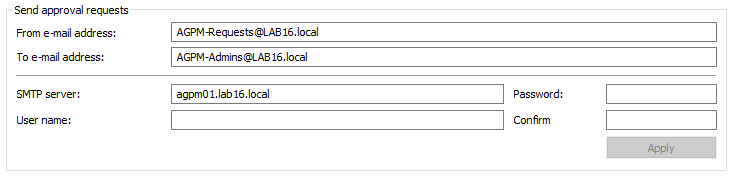
Up top you can configure your SMTP settings - I’m using a nifty little utility called PaperCut that simulates a local SMTP server for testing purposes so I’m not putting anything in the User name or Password fields. The “To” email address is only a single field, so you can’t separate out your notifications to different groups, but in theory this is only going to the Approvers and Admins anyways.
Alright - now we’re finished configuring the settings for this domain - you will need to do this for each domain that belongs to the forest.
Share this post
Twitter
Facebook
Reddit
LinkedIn
Email